“a profit or gain beyond ordinary expectation” – Velvet
I named the title of this blog after “Velvet”, for having to get a finished look that I didn’t expect.
After watching a couple of make up tutorials on YouTube, I was inspired to practice my make up skills on myself. It’s been a while since I have last done this. Thank heavens for YouTube, really!
Here’s a photo posted on my instagram and facebook account, taken using my Sony Xperia Z.

I love how flawless it looks! I didn’t realize I can be as creative as this. I remember Rg telling me to put some more as in more make up on when we do a photo shoot session, because he said the colors fade away in the pictures. That’s what Michelle Phan said too!
*The photos that will be shown next are taken during the photo shoot.”

I remember having a concealer that matches exactly my skin tone, I mean not for concealing but the tone of the concealer is the same as mine. Today, I decided to use it as my base foundation.
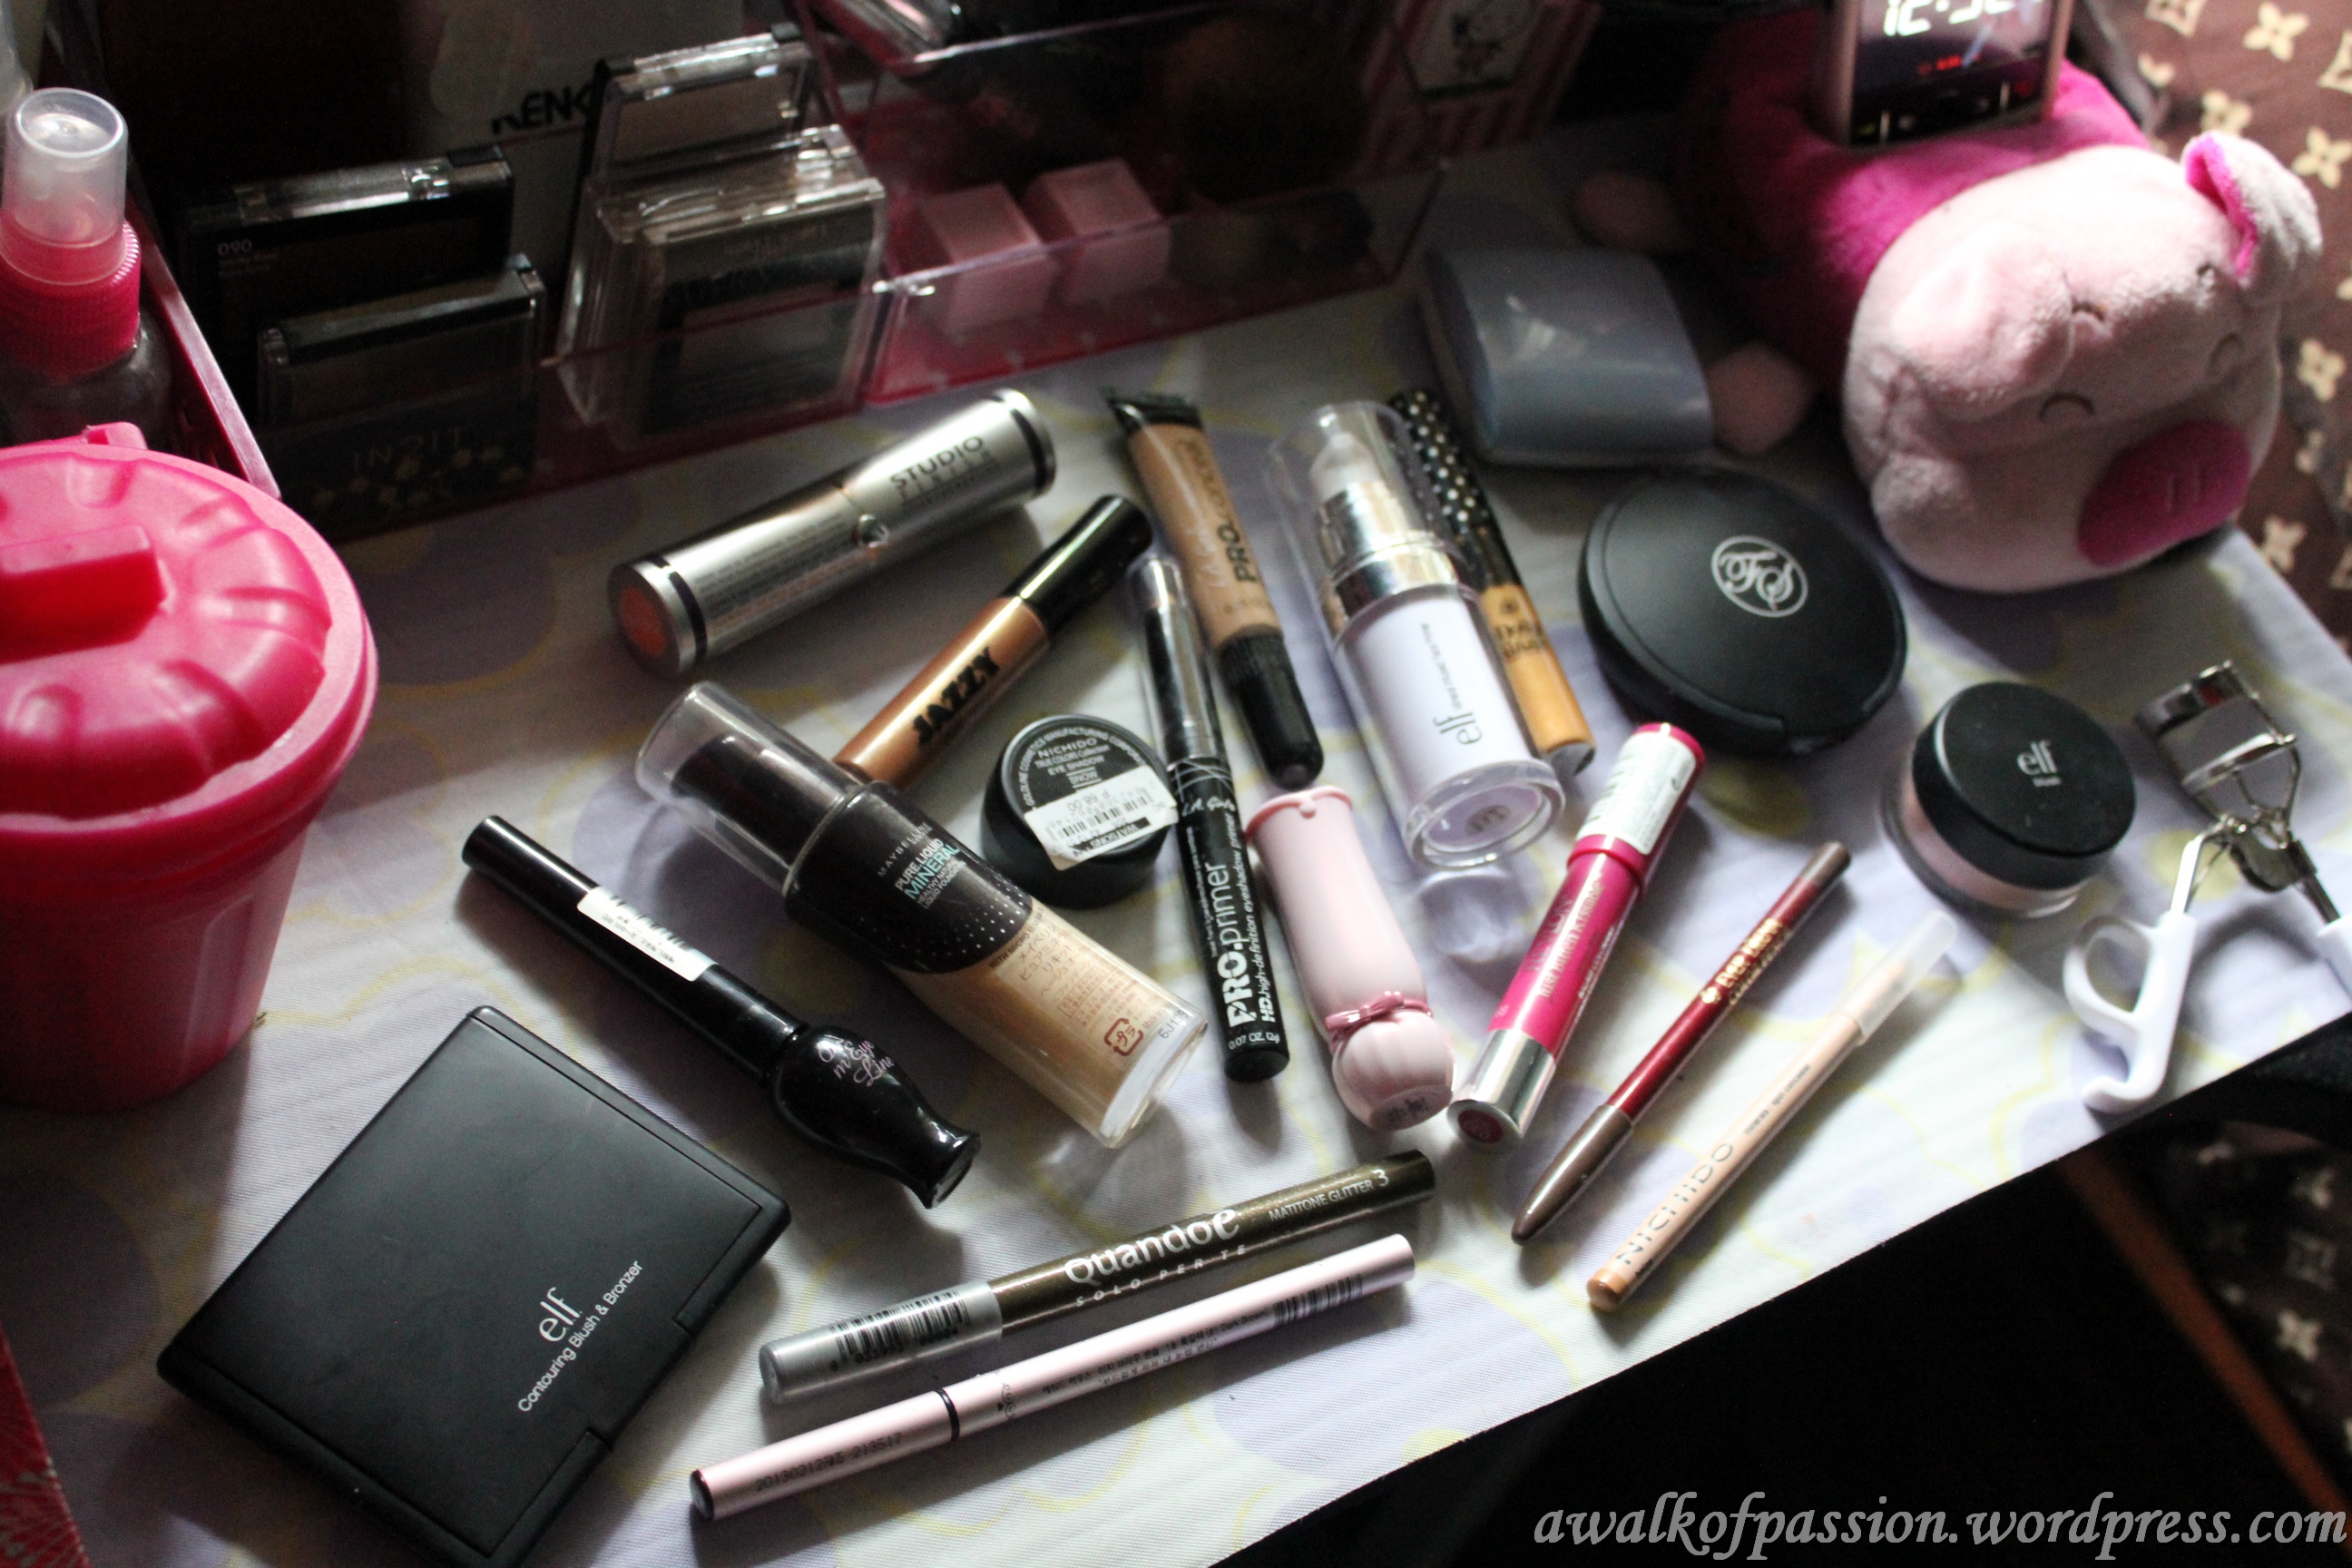
When I do practice (make up), I usually use the make up that I don’t use everyday, so I can utilize all of them. Because we all know, it is seldom that we do hit or buy the exact tone, shade, intensity, pigmentation, etc., that matches our skin tone and skin type. Unless, you are a PRO. Well I’m not, that’s why I sometimes end up buying make ups that I really can’t use no matter how much I like them, simply because it doesn’t fit me. That’s just sad. But I can definitely utilize them in some other ways like what I did today!
Using my “LA Girl HD Pro Conceal in Pure Beige”, I swiped it on my moisturized (Olay Total Effects 7 in 1 Anti-Ageing Cream) and primed face (Elf Mineral Infused Primer) using my clean fingers. I love how full the coverage it gives my face. It hid most of my imperfection! Well, of course it should be! Haha!

Though, there are some spots that still needs concealing. Using a tapping motion, I added my “Revlon Photoready Concealer in Medium Deep”. It is almost the same as my skin tone but a little bit lighter and provides perfect coverage on my imperfections. It’s my most favorite concealer before Essence Cover Stick Concealer. It’s both stick and provides perfect coverage, but I love the matte finish more.
After the foundation and concealing part, of course it needs a setting powder so it won’t go anywhere.
The LA Girl Pro Conceal already gave my face a full coverage indeed, however, because I have an oily skin, I need to set it with a powder. I heard a lot of good things about the next product that I used, a lot says that it’s the ‘dupe’ for MAC Studio Fix Foundation, and that’s mainly the reason I bought it. Using the sponge included on the “Fanny Serrano Two-Way Cake Foundation” kit, I gently tapped a little amount of the powder on my face and neck. After doing so, I found the make up too thick for me, but since it was for a photo shoot, I have to keep it that way. Though I really didn’t want it to look that way, for the reason it might get cakey, I blended it with my MAC Stippling Brush. Now that gave me an airbrush finish look!

I don’t usually contour and highlight my face, I find it too heavy for me. Nevertheless, I contoured my face because again, this is for a photo shoot.
Rg’s mom gave me a palette from Mary Kay, Canada. It’s a set with dark colors in it. The kit comes with 3 gorgeous and very pigmented eye shadows, a lipstick in a reddish-brown color, a lip gloss and a nice blush/contour powder. I find the blush powder perfect for contouring. It is very pigmented and has a matte finish. I used that to contour my face for this look. Using my ring finger, I swiped a right amount on it and swiped it right below the apples of my cheeks, on my nose, and on the hair line. With my ELF flat top brush, I blended it. I didn’t highlight the highest points of my face just yet. I usually do that in the end. For reasons I don’t know. Haha!

I proceed with lining the bottom and upper parts of my brows using my “Ever Bilena Brow Pencil in Brown”, it’s my favorite! Then filled in the gaps with my “Intuit Waterproof Eyebrow Color”. I used a synthetic angled brush from marionaud to blend the products. Then, cleaned the edges with my essence cover stick concealer, used with real techniques foundation brush from core collection.
I have primed my entire face including my eyelids right before applying any product. With this, priming my eyelids would no longer be necessary but I still added an eye primer (LA Girl Pro-primer in nude), just because I want the colors to look ‘still’ on pictures. I set it with my “Nichido Single Eyeshadow in Snow” with an eye shadow brush from MAC. I went a little bit over my crease since I have small lids. I wanted to create an illusion of a crease, just an illusion. With a MAC blending brush, I added just a tiny bit amount of the brown color from my eyebrow palette from Nichido and worked my way in. Blended it back and forth and not adding any more products.

I am one of those who love liquid, gel, cream, or any types of eyeliner, placed right above the lash line. Even creating a check line to make the eyes look elongated. But I’m also one of those people who are not as gifted as the Pixiwoo sisters when creating a perfect line in the eyes. Today, I made myself proud by almost having a perfect check line in my imperfect eyes! Thanks for the help of a inexpensive product I knew from fellow bloggers out there! “San San Waterproof Eyeliner Pen” Oh I love this product! It makes my life easier! It is really a heaven sent as I use this product on my clients and it helps me create a perfect line on them, too! Look at that!

I added a bit outside my lower lash line as well. Since my eyes is smaller than normal, I need to make it look bigger. I used “Nichido Eye Pencil in Beige” on my lower lash line to make my eyes look awake. I learned this from my favorite beauty guru, Noe of Color is my Weapon!
Since the eye make up looks kind of heavy, I didn’t want to use any bright color on my cheeks any more. So I just added a bit of “Intuit Sheer Shimmer Blush in Copper Pearl” on the apples of my cheeks. Added more contour on my face using “Careline Blush in Starlight Shine”.

And now, the highlight! Just like contouring, I don’t normally do this on a daily basis, unless if it’s a photo shoot session. That’s why, right now, it is necessary. So nothing really fancy, I bought this “ELF Under Eye Concealer & Highlighter” in a small tube. I think it works just fine, but I’m sure there are better highlighters in the same price out there. So let me know if you know one.

Now, my most favorite part, the LIPS! I wanted my lips to look fuller on pictures so I decided to go for a bright red lip color. Just because I love Anne Curtis and her red lips. I bought one of the product she endorses, the “Avon Ultra Moisture Rich Lipstick in Lava Love”. And I never regret it! It is really pigmented and I love how shiny it looks when worn.

Last but not the least, to keep away the shine on my face, I set everything up with the most famous “Ben Nye Banana Powder” for a more flawless look! Oh I love how wonder a make up can do.

If you can notice, I wasn’t wearing any contact lenses in the photos. I wanted to try an eye make-up that would still look pleasing to me even though my eyeballs looks small. I know it could have looked better if I am wearing lenses, however, I wanted to create a look that would still look good on me even without contact lenses. I feel like I made a success on this one. Proud me!
“Beauty, to me, is about being comfortable in your own skin. That, or a kick-ass red lipstick.”― Gwyneth Paltrow Credits to my very supportive boyfriend who never gets tired of listening to my make up remedies and ideas. (Even though he don’t get any of it. HAHA!) RG Gaviola
radioactivepuppy.blogspot.com